Vinyl plank flooring is one of the flooring solutions and a thicker version of traditional vinyl flooring. It is sturdy against spills and moisture. If you want to know how to install vinyl plank flooring, this blog is for you.
Vinyl plank flooring is easy to install due to its long planks with a modified tongue-and-groove connection. Its cutting is easy, and the planks snap together easily at the edges. Vinyl plank flooring needs no bonding to the subfloor below. Installing it can take between 2 hours and 2 days. Now, let’s dig into the process.
What Steps Are Involved in Installing Vinyl Plank Flooring?
Before you begin, make sure that your floor is level. Clean and prep the subfloor, and remove your old flooring. Below, we have discussed the steps and tools in detail you need to lay floors.
Step 1. Collect The Right Material
Before installing the vinyl plank flooring, ensure your space is fully prepared and you have the right tools to do the job. The tools are as follows:
- Utility Knife
- Hammer
- Pry Bar
- Fine-Tooth Saw
- Pilers
- Measuring Tape
- Nails
- Chalk
- Spacer
- Straightedge
- Carpenters square
Step 2. Decide On Your Plank Flooring Layout
There are different basic and detailed laying patterns available for vinyl plank flooring. Before you lay the first plank, clear away the accessories like furniture upholstery, and premium carpets to ensure smooth installation.Now, decide on the pattern you would like to follow. If you want to stagger your flooring, ensure that the plank at the end of your first row is at least 6 inches in length. Moreover, you also need to ensure that the first plank in your second row is 6 – 8 inches away from the first row’s closest seam.
If you desire a basic pattern while laying your floor, then begin from the wall that is the most noticeable in the room from the entrance. When you lay the planks, ensure that you run from end to end and parallel against this most noticeable wall. Remember that you need to begin half inches from the wall and work outward towards the door.
Step 3. Prepare The Floor
This is one of the important steps in the guide on how to install vinyl plank flooring. You need to prep your floor before installing it, which involves the following substeps.
- First, carefully remove your baseboard using a pry bar. This will leave no space between the walls and the floor. If the baseboard is difficult to remove, try using a putty knife to cut through any leftover dried paint.
- Now remove any transition strips and tear up any old flooring. If it is difficult, you can use a pry bar.
- Ensure your subfloor is damage-free, level, and clean. If there are cracks in the subfloor, use concrete filler to seal them. For sturdy flooring, you can use a putty knife to smooth out any uneven areas or holes. Once the fillers dry, sand down any remaining areas.
- If you want to put an underlayment, Place the floor padding in the same direction that you will be laying the flooring planks—work from left to right and tape the pieces together.
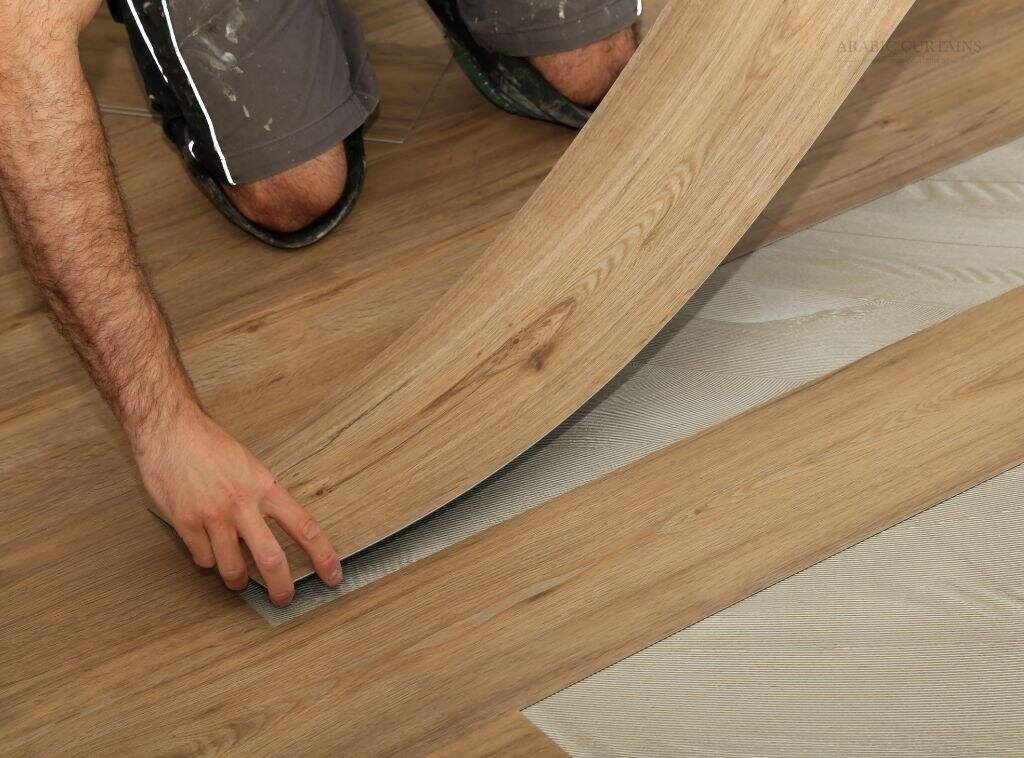
Step 4. Start Laying Your First Row
Once you have completed all the above-mentioned steps, it’s time to lay your first row of planks. When you see a short tongue edge on the plank, grab a knife and trim it off quickly. During this step, you can use a spacer to help you mark the distance. You need to lay the first plank about ¼ inches from the wall.
Step 5. Cut For Odd Spaces
As you know, not every room is square, which makes laying rectangle planks a little difficult. So here, we will discuss how to cut your vinyl plank flooring for spaces or odd corners.
- First, measure the angle you need to cut your plank.
- Using a utility knife and a carpenter’s square, score the plank.
- Along the line, now fold back the plank to snap it off.
- If you can not separate the pieces, use shop scissors or tin snips.
Step 6. Reinstall Baseboards And Fit Final Planks
Once you are done with the floor, it’s time to finish up your room. Now install the baseboards on the wall, either the old ones or new ones; it is up to you. This step will be easy because you earlier left a 1/4-inch gap. Now, when you have fitted the baseboard, it’s time to recess the nail heads into the surface of the trim.
Tips To Follow
If you install vinyl plank flooring yourself, you can save money and have control over the color options and layout. It is highly easy to install, and the whole process usually takes less than one day.
You can speed up the vinyl flooring installation process in different ways.
- If you choose flooring with a large plank width, then the process can be faster.
- Additionally, if you do not lay an extra cushion underneath the flooring, you can save time when installing it.
Let the floor acclimate to your room’s humidity and temperature for a few days after installation. This will prevent the material from expanding and contracting.
Final Words
This was all about how to install vinyl plank flooring from the top-rated home improvement company in the UAE. With this new look of your floor, you are ready to invite any guest because it is durable and comfortable. It is a great option if there are pets or kids at your home. Installing vinyl plank flooring will help you get a lot of appreciation from your friends and family. Get the comfort of your new stylish floor!